| About Me |
| Publications |
| Projects |
| Contact Me |
The purpose of this project was to explore lighting and surfacing in Maya. The model of a Wacom stylus on a table top was provided for the same.
I started off by creating separate materials for different parts of the stylus. The button, tip and the eraser use the same glossy type of a material. For the grip, I wanted to give it a rubbery texture so I used a Phong E material with minimal noise added as bump map. Then I used a simple Phong for the other non-grip half of the stylus.
Also, I used a Blinn with high reflectivity for the seam and the ring to give it a chrome sort of finish. Lastly, a layered shader was used for the nib.
I tried to play around with lighting and setup a 3-point light but the final render wasn’t anywhere close to what I wanted (image below). So, I ended up using the two lights that were setup in the scene.
I did make a few changes to the intensities and to make the glossy and chrome texture a little more specular I changed the decay to linear.
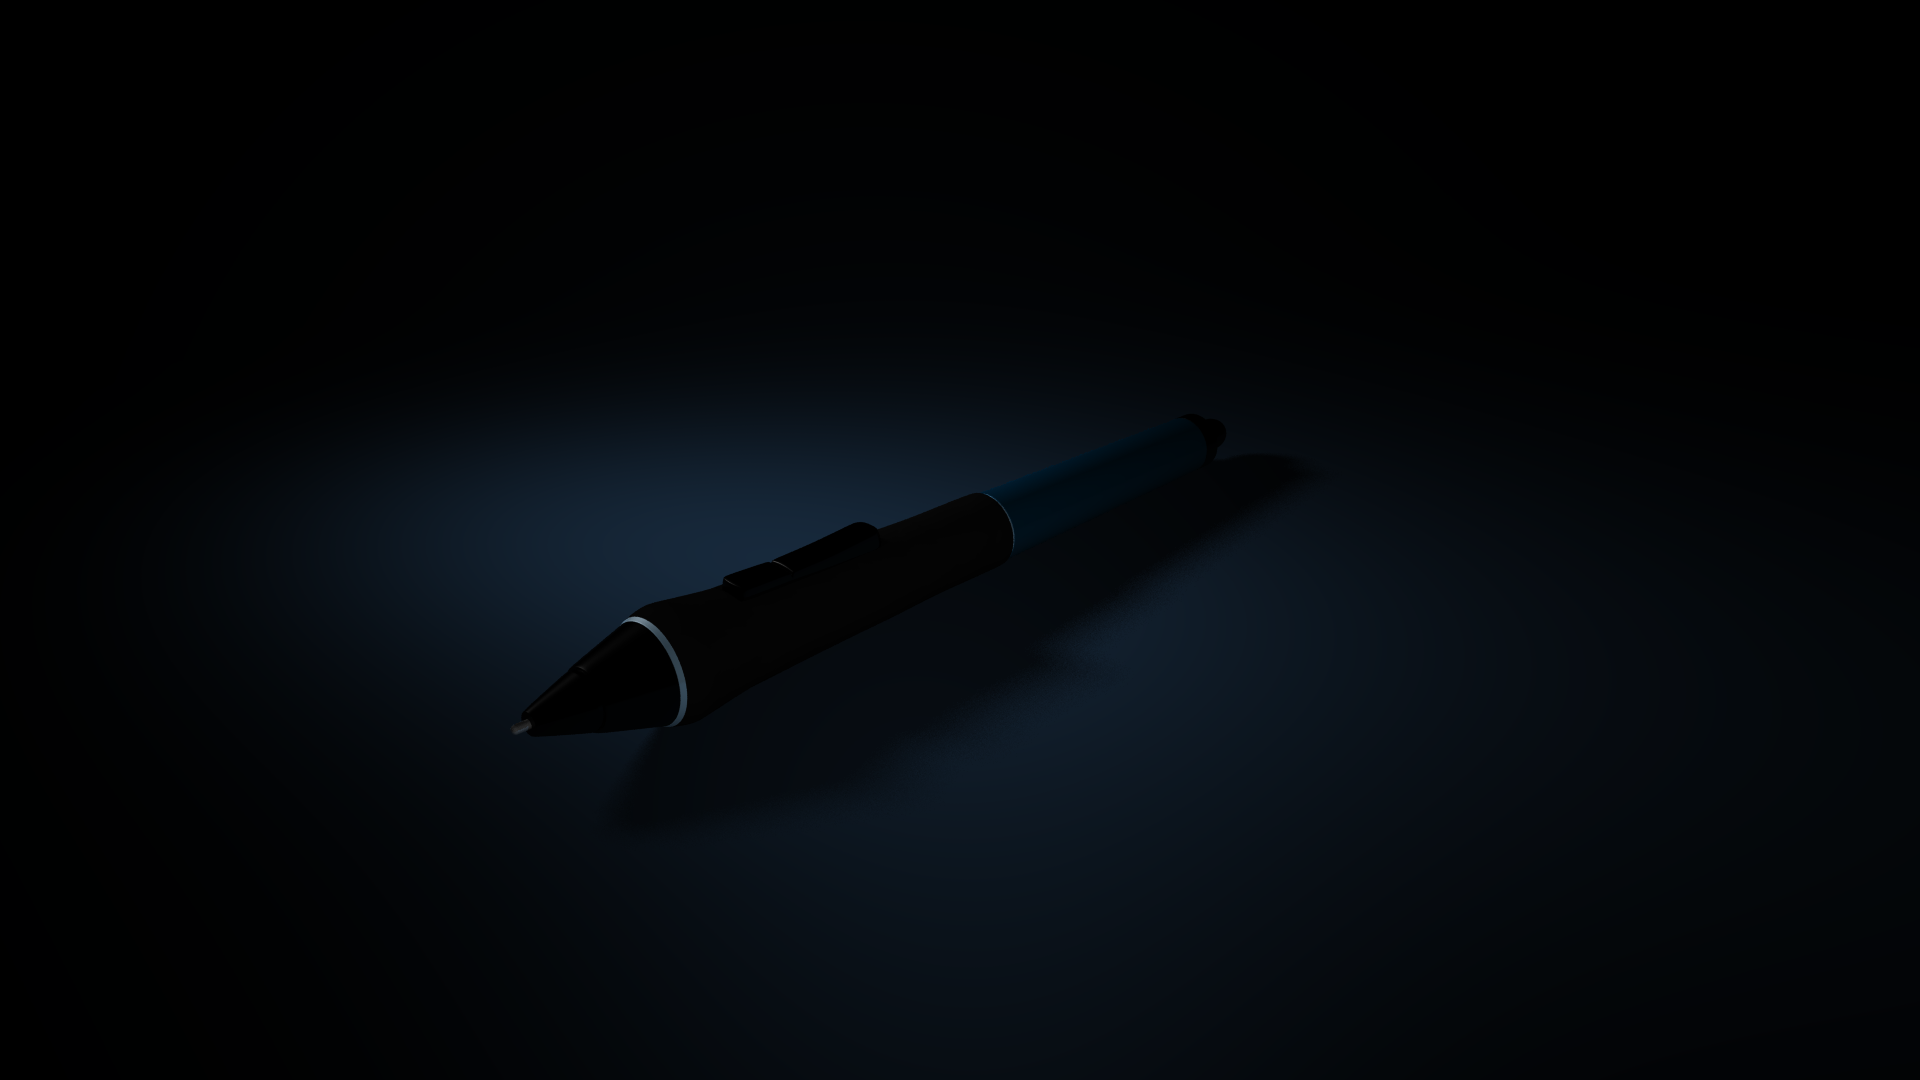 Image with 3-Point Light
 Final Result